1. Preparation
Safety measures
Make sure the vehicle is parked safely, pull the handbrake, and activate the parking brake. If it is an automatic transmission model, switch the gear to P gear; if it is a manual transmission model, switch the gear to 1st gear or reverse gear.
Turn on the vehicle’s hazard warning lights (double flash lights).
It is best to operate in a well-lit environment, such as daytime or a place with sufficient lighting equipment.
Tool preparation
Usually, you need to use the tools on the vehicle, including socket wrenches, etc.
Some auxiliary tools may also be needed, such as needle-nosed pliers (used to adjust the bulb socket in some special cases, etc.).
Accessory preparation
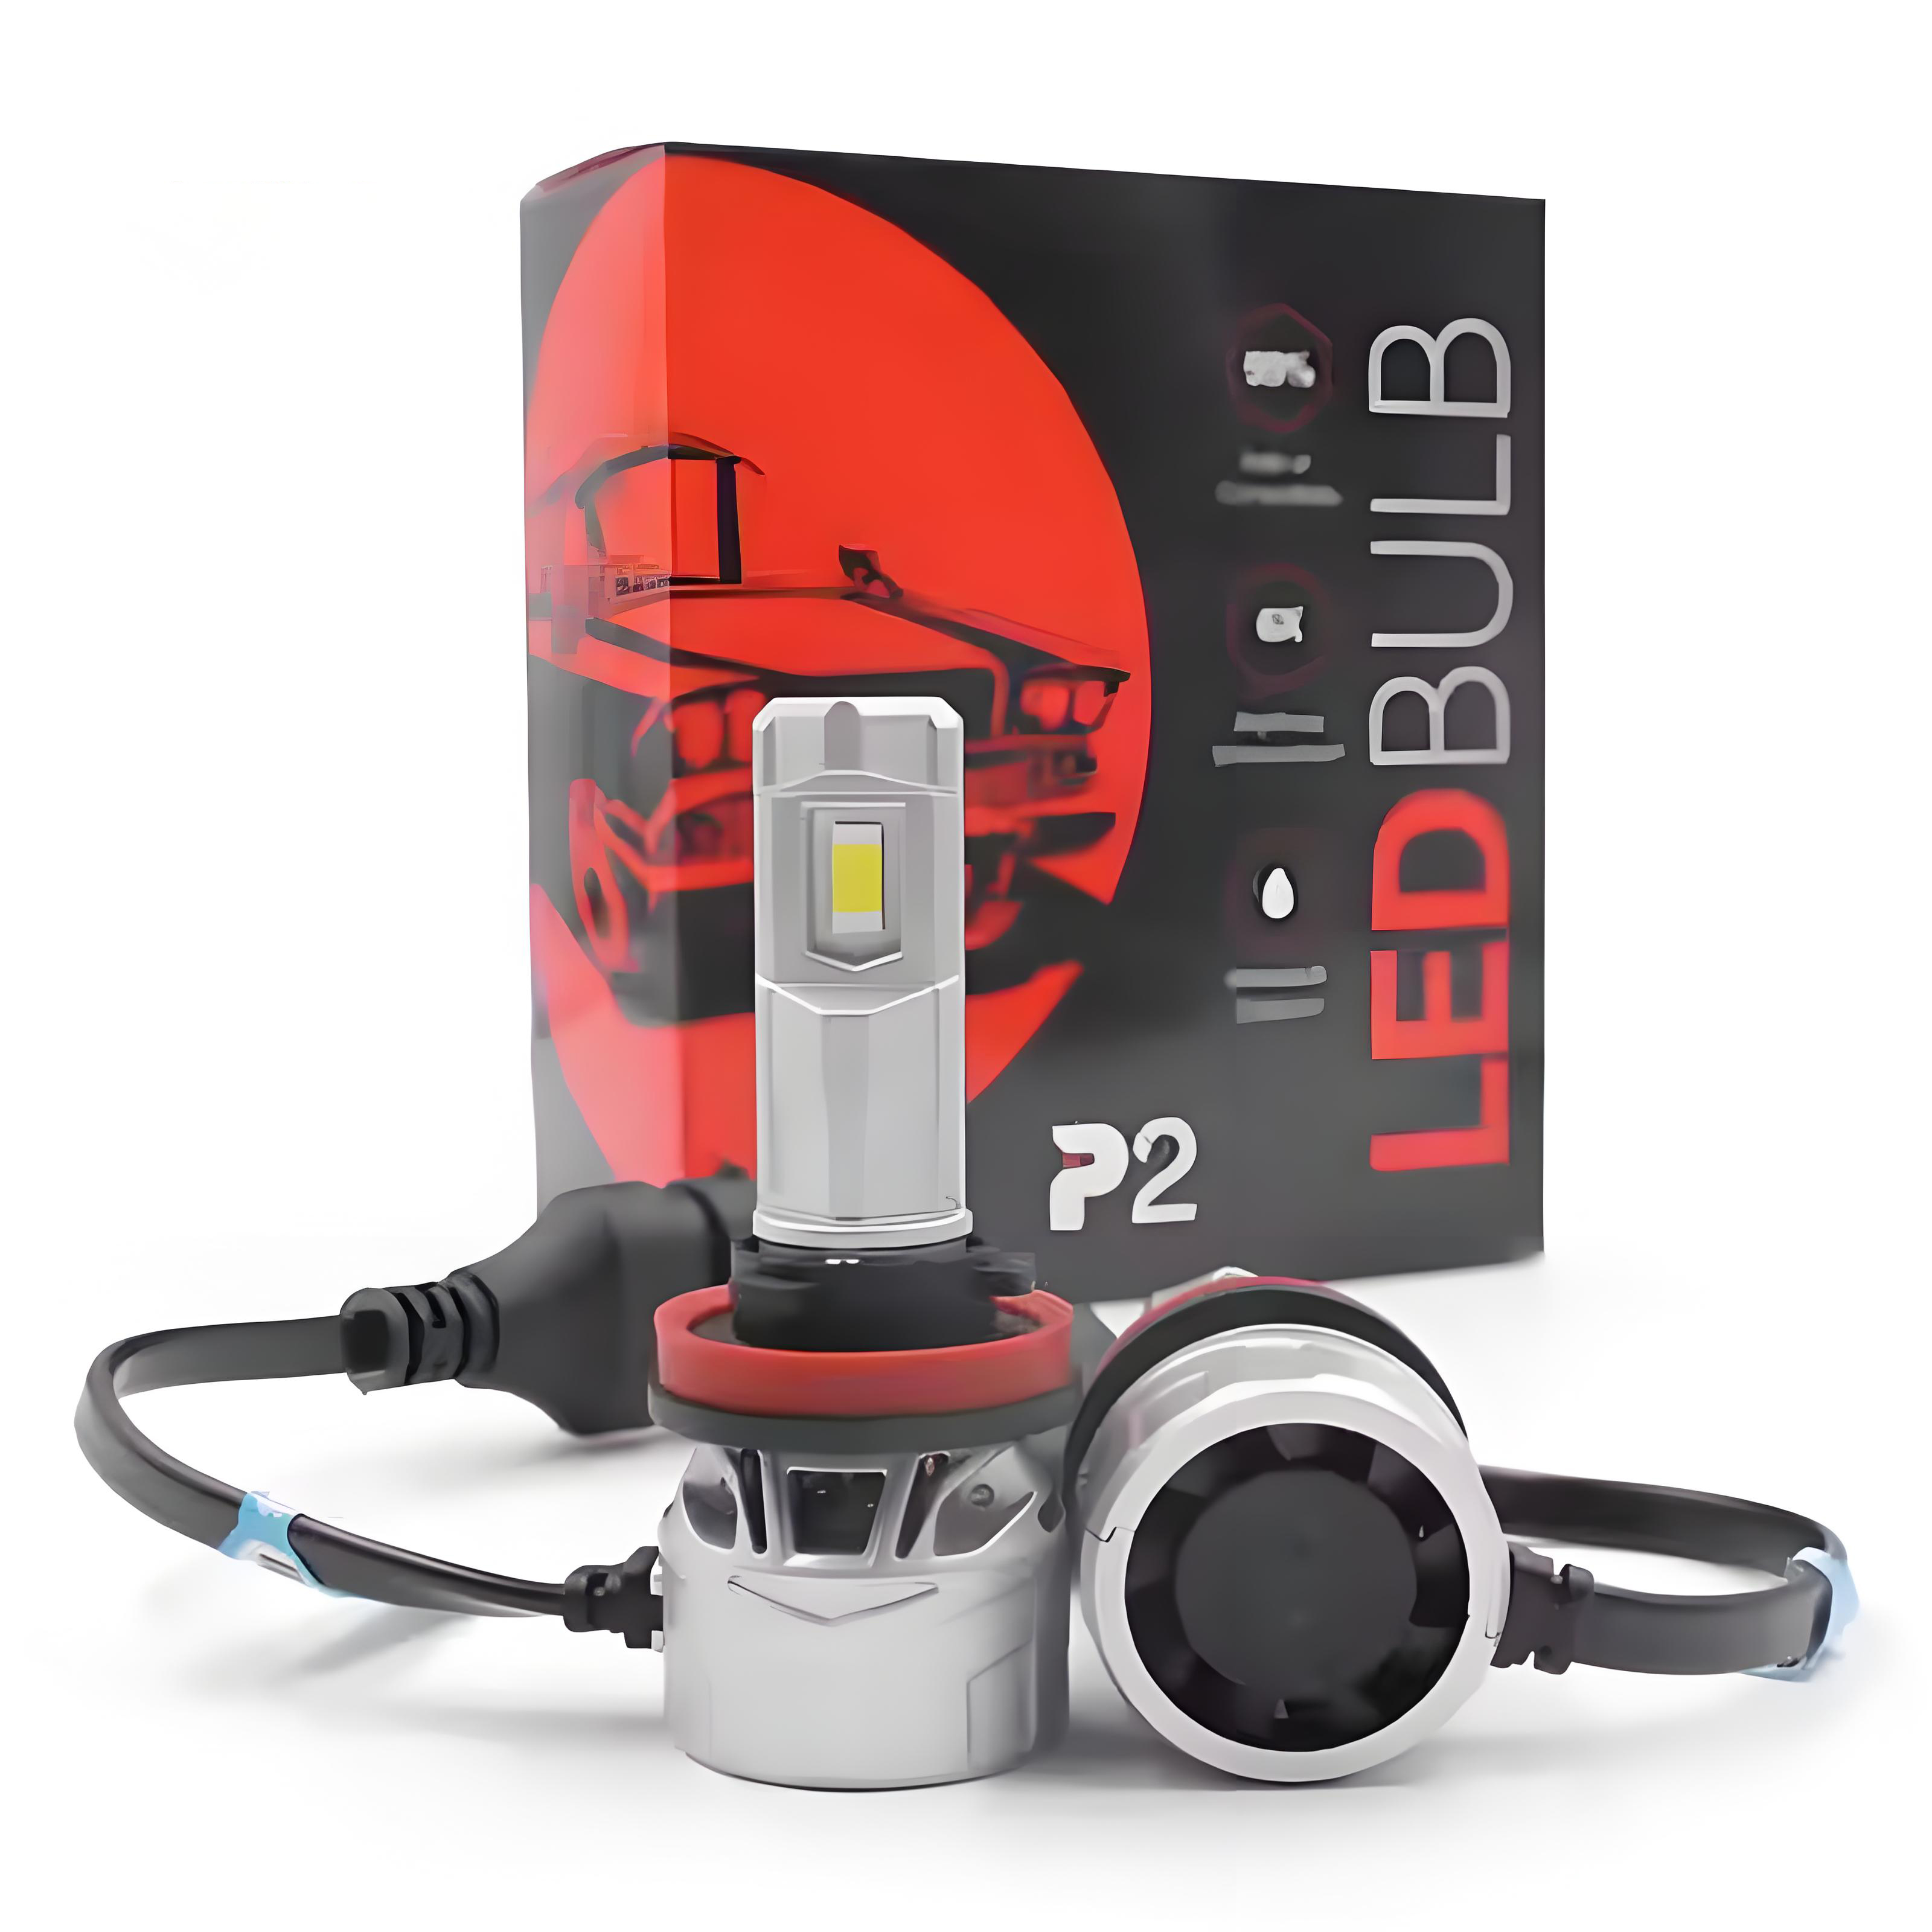
Make sure the new H13 bulb is the model that fits your vehicle. At the same time, check whether there is a matching bulb sealing gasket (some vehicles may need to be replaced separately).
2. Remove the old bulb
Open the hood
Find the release handle of the vehicle’s hood, which is usually located in the cab near the left side of the steering wheel. Pull the handle, then walk to the front of the car and press the hood support rod fixing device (different models have slightly different methods), prop up the hood and ensure it is supported stably.
Locate the headlight assembly
Find the vehicle’s headlight assembly in the engine compartment. The H13 bulb is usually located inside the headlight assembly.
Remove the headlight assembly (required for some models)
If the H13 bulb is located inside the headlight assembly and the headlight assembly needs to be removed before the bulb can be replaced, find the headlight assembly’s fixing bolts. There are usually 1-3 bolts, which need to be unscrewed using a socket wrench. Some models may have bolts hidden behind plastic guards, which need to be removed first.
Before removing the bolts, it is best to mark the connection between the headlight assembly and the body with a marker pen to facilitate accurate alignment during installation.
After unscrewing the bolts, carefully disconnect the headlight assembly’s wire plug. Some plugs may need to press the unlocking buckle to pull out, be careful not to use too much force to avoid damaging the plug.
Replace the bulb directly (models without disassembling the headlight assembly)
Find the bulb socket on the headlight assembly. H13 bulb sockets usually have a plastic or metal shell, which may have a locking device (such as a clip or knob) on it.
Press the locking device (if it is a clip type, press it gently inward; if it is a knob type, turn it counterclockwise), and then carefully pull out the bulb socket.
Remove the old bulb
Hold the glass part of the bulb (do not hold the metal threaded part of the bulb directly to avoid leaving fingerprints that affect heat dissipation and bulb life), and then gently rotate the bulb (counterclockwise, generally right-handed thread) to remove the old bulb from the socket.
3. Install the new bulb
Clean the bulb socket (if necessary)
Before installing the new bulb, check the bulb socket for dust, dirt, or corrosion. If so, you can use a clean cloth to gently wipe the inside of the socket to ensure good contact.
Install the new bulb
Take the new H13 bulb, align its metal threaded part with the thread of the bulb socket, and then turn the bulb clockwise (usually right-hand thread) until the bulb is fully screwed into the socket. Be careful not to use excessive force to avoid damaging the bulb or socket.
Make sure the bulb is installed in place and has good contact with the metal contacts of the socket.
Reconnect the bulb socket (for models that replace the bulb separately)
Insert the bulb socket back into place and make sure the locking device is reset (the snap-on socket will snap the snap, and the knob-type socket will lock it by turning clockwise).
Reinstall the headlight assembly (for models that need to remove the headlight assembly)
Carefully put the headlight assembly back into place, making sure its mounting holes are aligned with the mounting bolt holes of the vehicle body.
Screw on the fixing bolts of the headlight assembly, install it accurately according to the previously marked position, and tighten the bolts according to the specified torque (generally a torque wrench can be used, and the torque value can be referred to the vehicle maintenance manual).
Reconnect the wire plug of the headlight assembly and make sure the plug is fully inserted and locked in place.
4. Inspection and testing
Close the hood
After ensuring that all parts under the hood are installed and no tools or other items are left out, lower the hood and ensure that it is completely closed and locked.
Check the installation of the bulbs
Turn on the vehicle’s headlight switch and check whether the newly installed H13 bulb lights up normally. If the bulb does not light up, first check whether the fuse is blown (you can check the vehicle’s fuse box, find the location of the headlight fuse according to the vehicle manual and replace it). If the fuse is normal, it may be that the bulb is improperly installed or the circuit is faulty, and you need to recheck the installation steps or further troubleshoot the circuit problem.
Adjust the lights (if necessary)
If you find that the lighting angle is not appropriate, you can adjust the lighting angle of the headlights according to the vehicle’s manual. This is usually achieved by adjusting the adjustment screws on the headlight assembly, usually with up and down adjustment and left and right adjustment screws.
Post time: Apr-18-2025


