


Preparation
Tool preparation: Usually a small screwdriver is required, and some models may also require a special socket wrench.
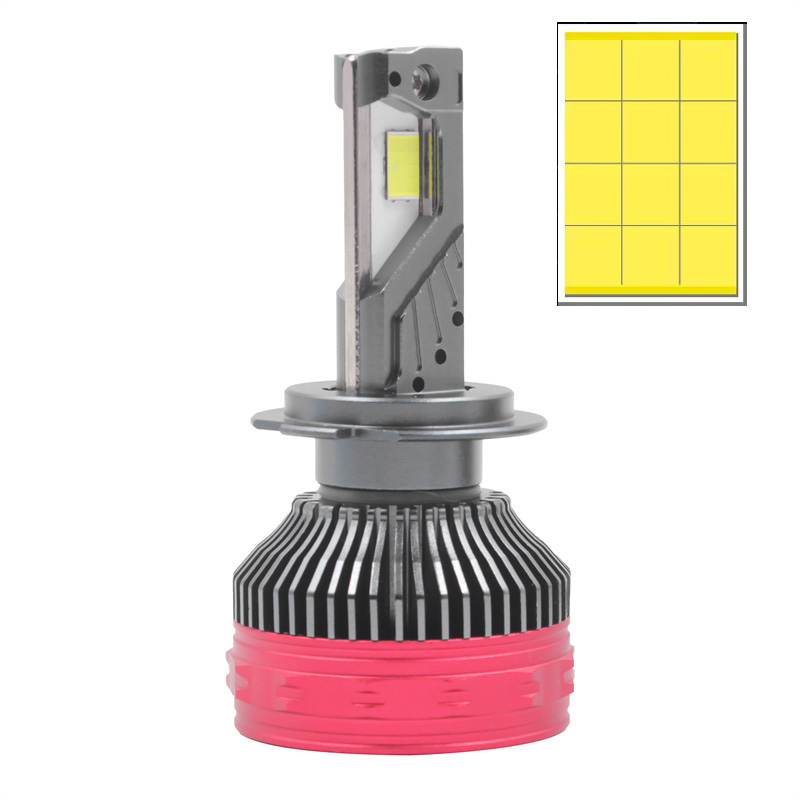
Preparation of new bulbs: Make sure the HB3 bulb model you purchased is compatible with your vehicle, and keep the bulb clean before installation. Avoid touching the glass part of the bulb directly with your hands to prevent the grease on your hands from affecting the heat dissipation and service life of the bulb.
Specific installation steps
Find the bulb location
Refer to the vehicle’s user manual to determine the specific location of the HB3 bulb in the vehicle. Generally speaking, HB3 bulbs are commonly used in the headlights of the car and may be located at the rear of the headlight assembly.
Open the headlight assembly housing
Use a small screwdriver to unscrew the screws that secure the headlight assembly housing. The location of these screws may vary depending on the model, some are on the edge of the headlight assembly, and some are on the nearby decorative panel.
After unscrewing the screws, gently remove the transparent or translucent plastic (or glass) cover of the headlight assembly. Be careful to keep the screws and cover to avoid losing them.
Unplug the old bulb plug
Find the socket for the HB3 bulb inside the headlight assembly. The bulb socket is usually a device with a clip or thread that connects to the bulb.
Press the clip on the socket (if it is a clip-on type) or turn it counterclockwise (if it is a threaded type) to separate the socket from the bulb, and then carefully pull out the old bulb.
Install the new bulb
Take the new HB3 bulb and insert it into the bulb socket. Make sure the bulb is installed in place and has good contact with the socket.
If it is a clip-on socket, gently press the clip to make the socket firmly clamp the bulb; if it is a threaded socket, turn the bulb clockwise until it is tightened.
Check the installation
After installing the new bulb, gently shake the bulb to check whether it is installed firmly and there is no looseness.
Replace the headlight assembly housing
Align the clear or translucent plastic (or glass) cover that you removed earlier with the headlight assembly and gently put it back in place.
Use a screwdriver to re-tighten the screws that secure the headlight assembly housing. Be careful not to overtighten it to avoid damaging the housing or screws.
Testing
After installation, turn on the vehicle’s headlight switch and check whether the newly installed HB3 bulb is working properly. If the bulb does not light up, it may be due to improper bulb installation, circuit failure or other problems, which need further inspection and elimination.
Post time: Mar-06-2025


